Česká republika
  Deutschland
  United Kingdom
  France
  Magyarország
  Polska
  România
  Україна
  Europe
 How to use a compass? A guide for beginners and more

The compass remains one of the basic tools for orientation in the field. Unlike GPS and smartphones, it does not require power, works in virtually any conditions, and allows you to determine the direction of march even during electronic failures or lack of network coverage. For this reason, it is widely used in tourism, survival, bushcraft, and military activities.
However, to use the compass correctly, you need to know how the compass works, what the red arrow means, and how to determine the points of the compass and azimuth. In this guide, we explain step by step how to use a compass, how to work with a map, and how to avoid common navigation errors in the field.
How does a compass work and what does the red arrow mean?
A compass is a navigational device that uses the Earth's magnetic field to determine the points of the compass. Its most important element is the magnetic needle, which rotates freely inside the device's casing.
The most important for the user is the red arrow of the compass, which is the end of the magnetic needle marked in red. It always points to the magnetic north. When using the compass, you should set it so that the red needle matches the "N" (North) marking on the dial. Only then can you correctly determine the other points of the compass and determine the direction of march.
It's important to remember that the compass points to magnetic north, not geographical north. The difference between them is called magnetic declination, which usually doesn't significantly affect basic field navigation.
The operation of the compass can be affected by metallic objects, electronics, magnets, and electric wires. To ensure proper reading, it is best to hold the compass horizontally and away from phones, multitools, or other metal components of your gear.
It's also worth noting that a compass and a compass are not exactly the same device. Read more about the differences between these devices in the guide: "Prismatic compass vs. compass - what distinguishes these two navigation devices?".

How to read a compass? Get to know its elements
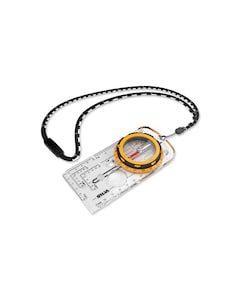
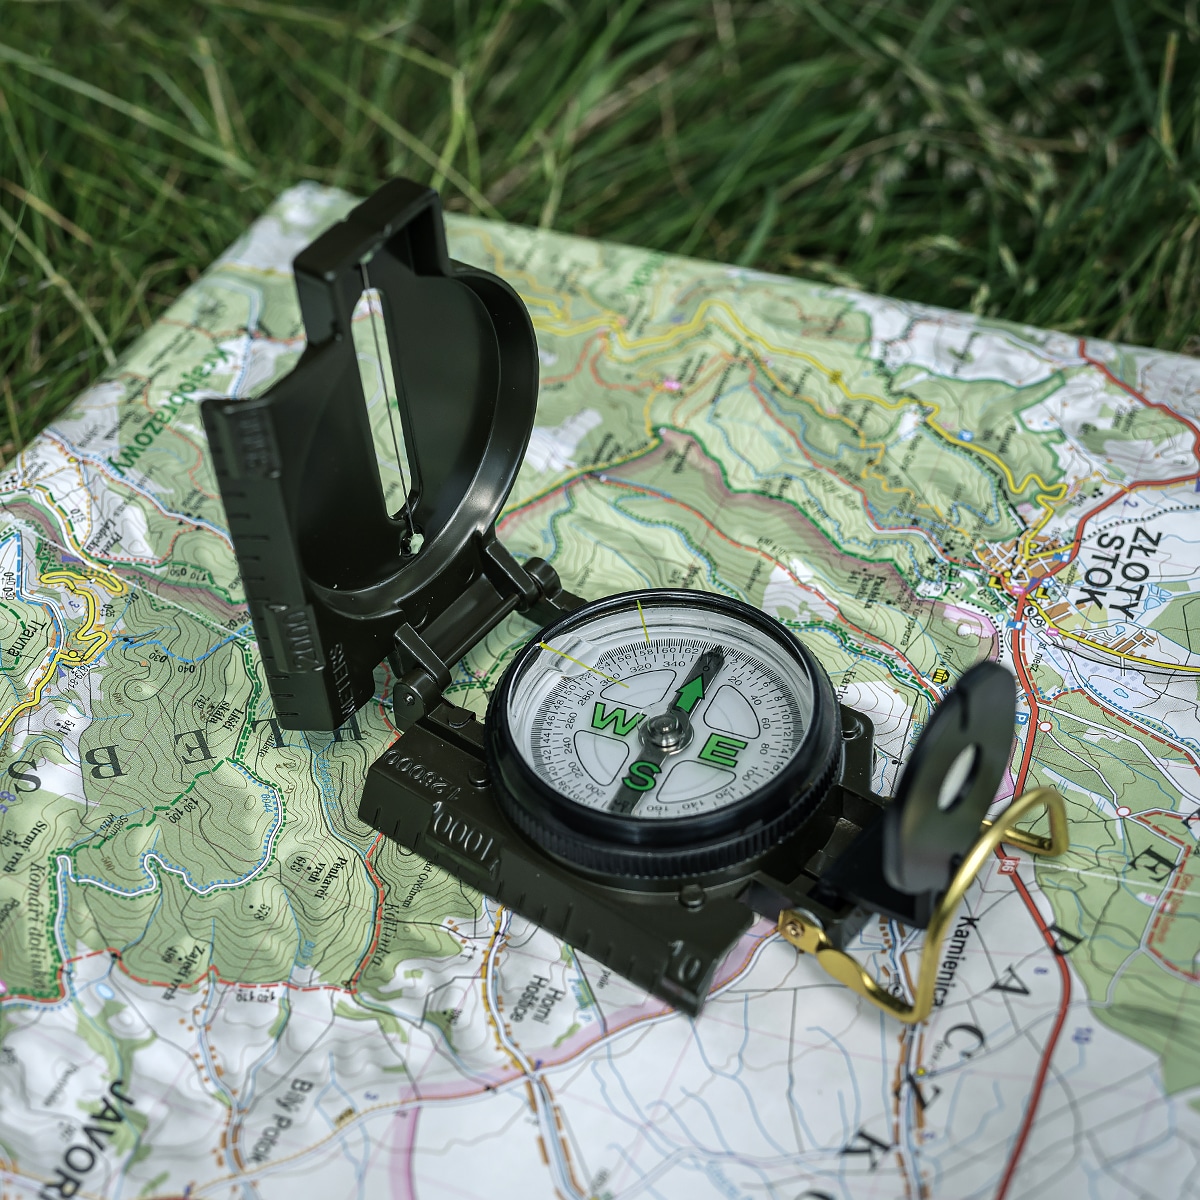
Basic compasses allow you to determine the points of the compass and maintain the direction of the march, while more advanced map models also facilitate working with a map, determining azimuth, and route planning in the field. The photo shows a map compass equipped with several elements that facilitate navigation:
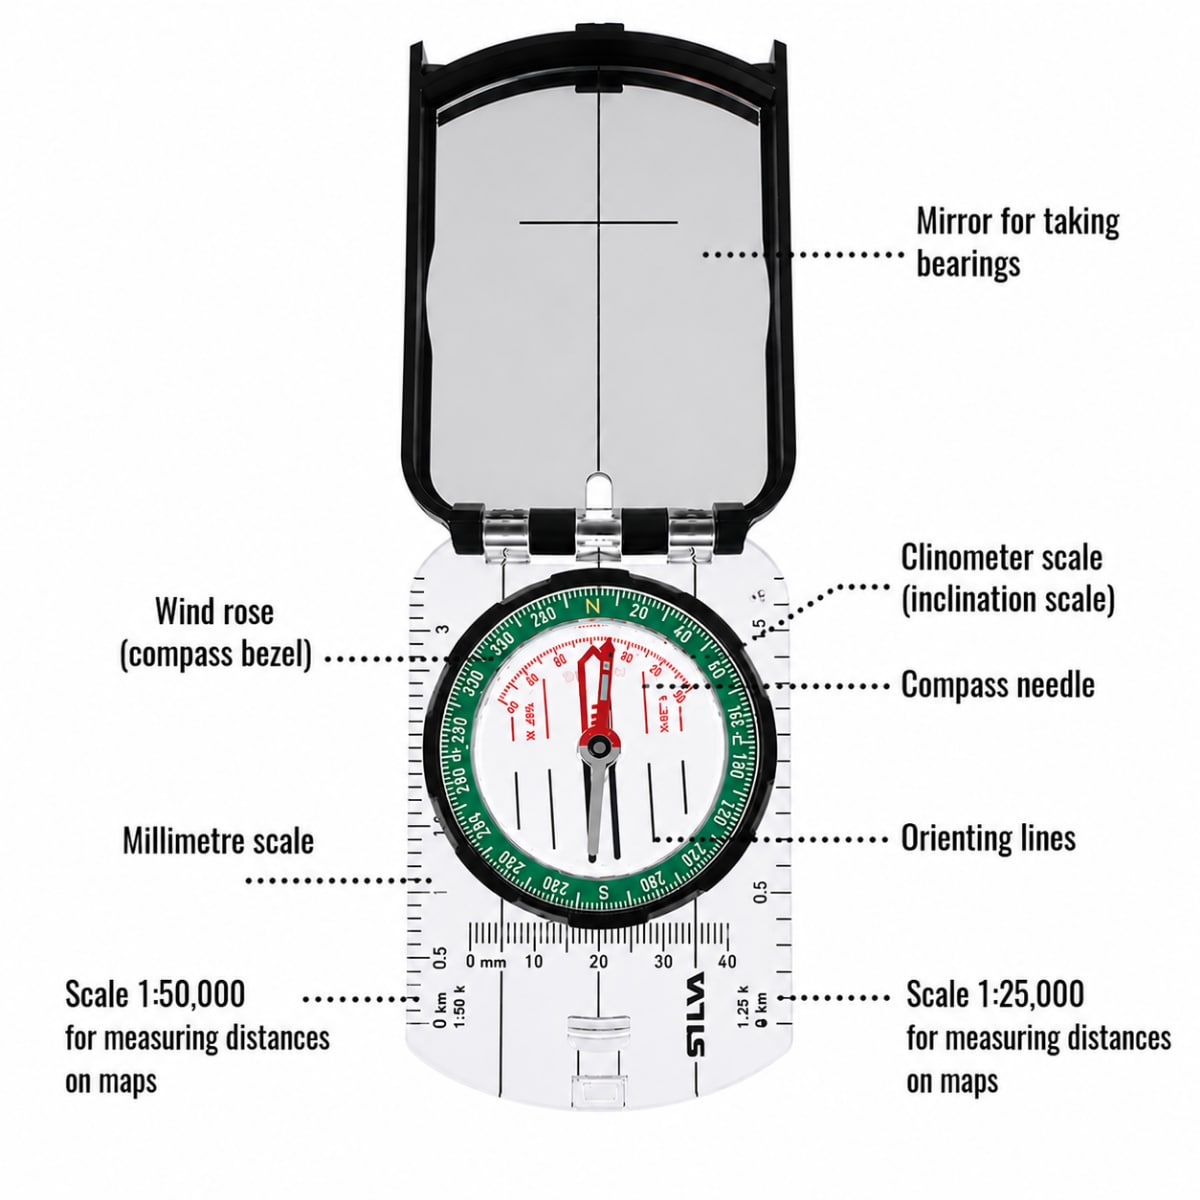
| Element of the compass | What is it for? |
|---|---|
| Compass needle | Magnetic needle rotating inside the dial. The red end always points to magnetic north. |
| Compass dial / angle scale | Rotating scale 0–360° used to read the direction and determine azimuth. |
| Mirror for determining azimuth | Facilitates precise aiming at the object during the march and azimuth reading. |
| Declination scale | Allows you to take into account the difference between magnetic and geographical north during precise navigation. |
| Millimeter ruler and map scales | Allow measuring distances on the map, e.g. in a scale of 1:25,000 or 1:50,000. |
For basic field orientation, a simple compass and knowledge of the points of the compass are enough. However, if you plan to work with a map, determine the azimuth, and plan a route, a map compass equipped with, for example, an angle scale, ruler, and directional arrow will be much more convenient.
How to use a compass – determining the points of the compass
To use a compass correctly, you need to understand one basic principle: the red end of the needle always points to magnetic north. All other points of the compass are read relative to this needle.
Step 1 — hold the compass horizontally
Place the compass flat on your open hand. This is very important because the magnetic needle must rotate freely. If the compass is tilted, the needle may rub against the casing and indicate the wrong direction. It's best to keep the compass away from phones, knives, keys, or other metal objects that may interfere with its operation.
Step 2 — wait for the needle to stabilize
After a few seconds, the needle will stop moving. The red end will point to magnetic north. On the compass dial, you will find the markings:
- N — north
- E — east
- S — south
- W — west
Step 3 — set the compass relative to north
Now turn your entire body or just the compass so that:
- the red end of the needle aligns with the letter N on the dial
This is the most crucial moment when using the compass. When the needle is set correctly, the entire compass correctly shows the points of the compass.
Step 4 — read the direction
After setting the compass, you can check:
- what lies ahead of you
- where east and west are
- and which direction you are moving
The dial also has a scale in degrees:
- 0° / 360° — north
- 90° — east
- 180° — south
- 270° — west
Example:
- if you are facing east, the direction in front of you will be approximately 90°
- if you turn to the south — the compass will read approximately 180°
This is how the compass allows you to determine the direction of march even without GPS and a phone.
How to use a compass with a map?
A compass alone allows you to determine the points of the compass, but only combining the compass with a map enables precise navigation in the field. This way, you can establish your position, determine the direction of march, and control the route even without GPS.
Orienting the map with respect to the terrain
The first step is to set the map according to the actual points of the compass. This way, the objects visible on the map will correspond to what is around you in the field.
How to do this?
- Place the map on a flat surface.
- Place the compass on the map.
- Rotate the map together with the compass until the red needle points to the north marked on the map.
- When the north on the map matches the north in the field, the map is oriented correctly.
From this point on, it's easier to identify roads, forests, hills, or buildings around.
Determining your position
If you don't know exactly where you are, you can determine your position with visible landmarks in the field. The simplest method involves:
- finding two well-visible objects, such as a tower, intersection, summit, or mast
- determining their direction with the compass
- transferring those directions to the map
The intersection of these lines will approximately indicate your position. This method is called triangulation and is one of the basic field navigation techniques.
Determining the direction of march from the map
A map compass also allows you to transfer the direction from the map directly to the field.
- Place the edge of the compass on the map so that it connects your position with the chosen target.
- Rotate the compass dial so that the orientation lines match the north of the map.
- Lift the compass and rotate with it so that the red needle matches the "N" marking.
- The directional arrow of the compass will indicate the direction of march.
In practice, it is advisable to choose distinctive landmarks in the field that are on the designated direction and move in stages instead of constantly looking at the compass.
Measuring distance on the map
Many map compasses also have a ruler and map scales, e.g., 1:25,000 or 1:50,000. They allow you to quickly calculate the actual distance between points on the map and better plan the marching route.
How to determine azimuth and move toward the target?
Azimuth is the angle between north and the chosen direction of march, given in degrees from 0° to 360°. Thanks to it, you can move in a specific direction even when you can't see a path, road, or distinctive landmarks.
Step 1 — determine the direction to the target
First, locate the point you want to reach. It can be:
- a summit
- an intersection
- a building
- a distinctive tree
- or a point marked on the map
Then aim the compass toward the target.
Step 2 — read the azimuth
Rotate the compass dial so that:
- the red needle aligns with the "N" marking
- and the directional arrow still points to the chosen target
After setting it up, read the value on the compass scale. That is your march azimuth, e.g.:
- 90° — east
- 180° — south
- 270° — west
Step 3 — maintain the direction of march
During the march, regularly check the compass and make sure that the red needle aligns with the north marking on the dial. This way, you'll maintain the correct direction even in the forest, during fog, or after dark.
What to do when the target disappears from view?
In practice, you rarely walk continuously looking at the compass. It is much more convenient to designate auxiliary landmarks along the way.
How to do this?
- Set the azimuth on the compass.
- Look in the direction of the march.
- Choose a visible object located on this line, such as a tree, rock, or part of a path.
- Reach it and check the azimuth again.
This method allows you to move faster, more comfortably, and more accurately than constantly looking at the compass during the march.
The most common errors when using a compass
Even a simple compass may indicate the wrong direction if used incorrectly. Beginners often make a few repeated errors that can hinder field orientation and lead to incorrect determination of the direction of march.
Holding the compass near metallic objects
The magnetic needle reacts to metal and magnetic fields. Multitool, belt buckle, watch, or a metal part of the backpack can interfere with compass readings. During reading, it's best to move such objects away and hold the compass as far as possible from the equipment.
Confusing the red needle with the directional arrow
Many compasses have two different arrows:
- the red magnetic needle pointing north
- and the directional arrow indicating the direction of march
This is one of the most common mistakes among novice users. The red needle must always be set relative to the "N" marking on the dial.
Reading the direction before the needle stabilizes
After changing the compass position, the needle needs a few seconds to align with the Earth's magnetic field. If you read the direction too quickly, the result can be inaccurate.
Using a compass near power lines and tracks
High-voltage lines, railway tracks, cars, and larger metal structures can affect the compass's operation. In such places, the needle readings may be significantly disrupted.
Which compass to choose for different applications?
The type of compass should be adapted to the method of moving through the terrain and the user's level of expertise. A simple emergency model will function differently than a compass designed for working with a map or precise field navigation.
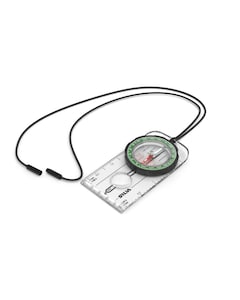
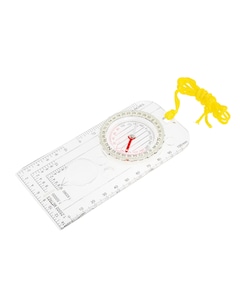
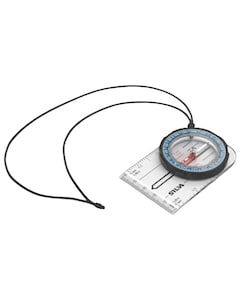
Map/plate compass
This is the best choice for most novice users. Map compasses are lightweight, easy to use, and work well during trekking, tourism, and orientation runs. Thanks to the transparent base, ruler, and map scales, they facilitate convenient work with a map and determining azimuth.
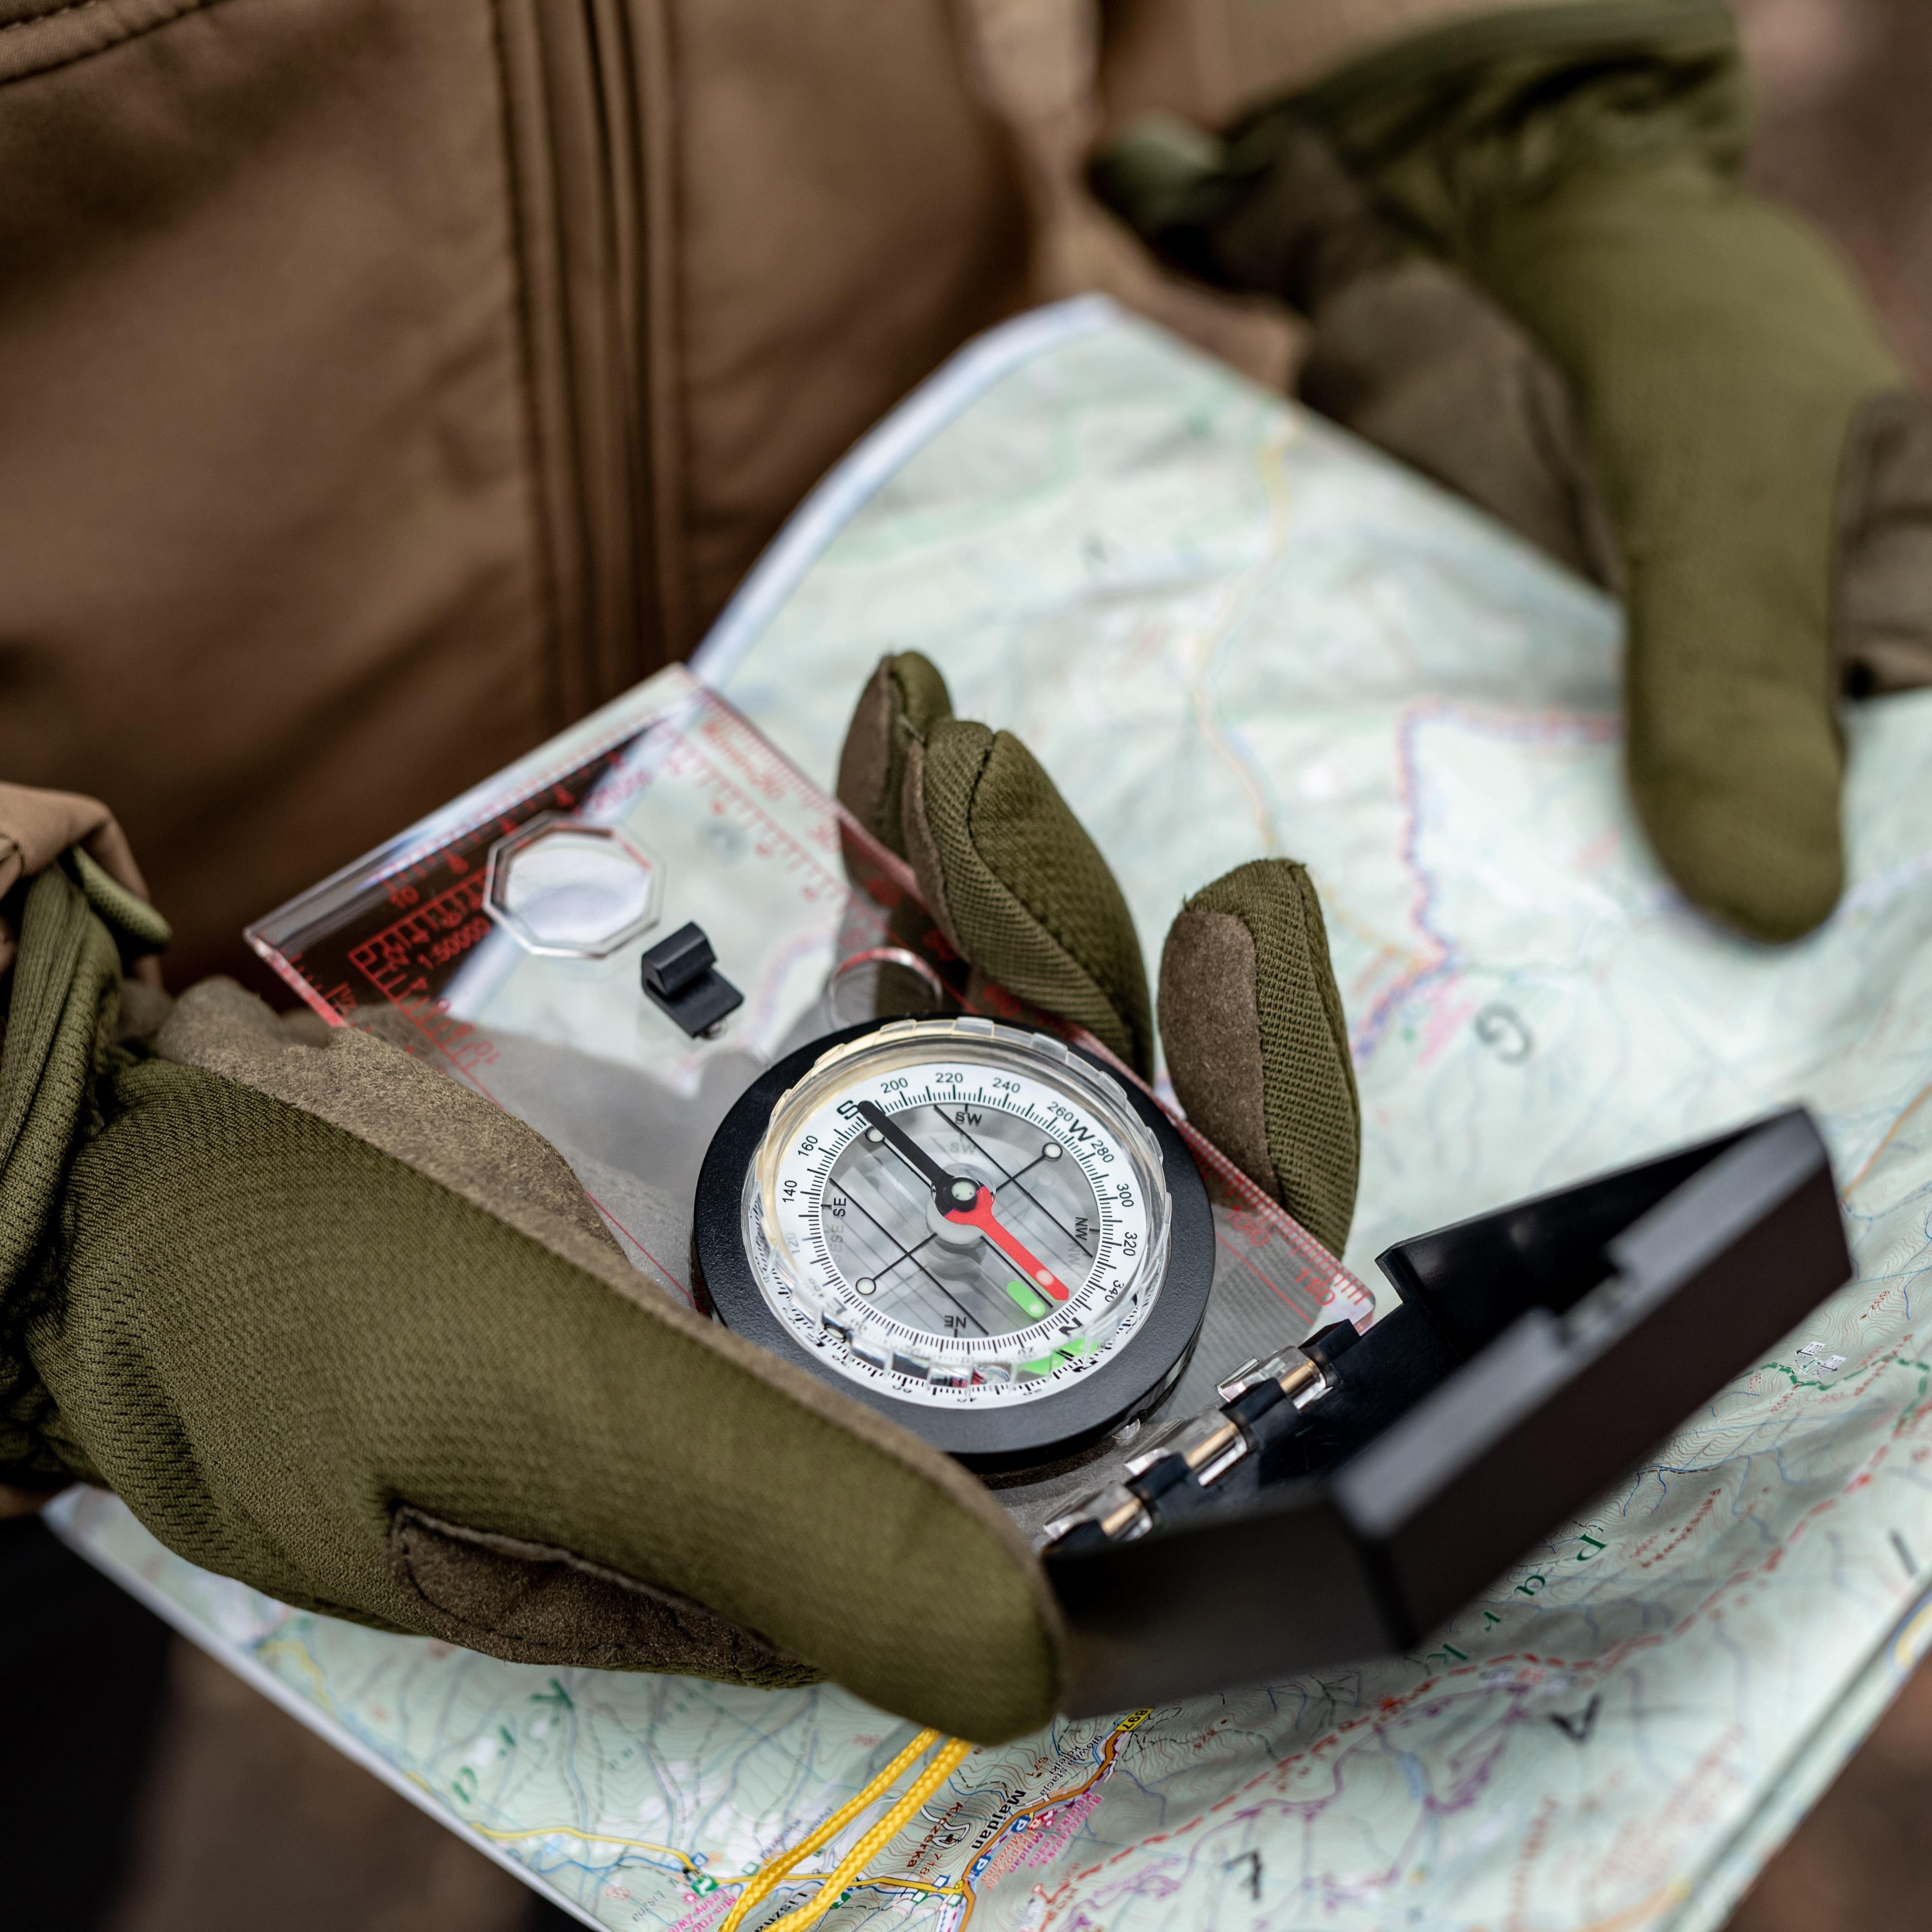
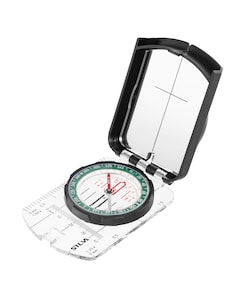
Compass
A compass will be a better choice for survival, bushcraft, and more demanding field navigation. A sturdier construction, often a foldable casing, and a sighting device allow for more precise determination of the march direction and working in tougher field conditions. This type of model is often used by military users as well.
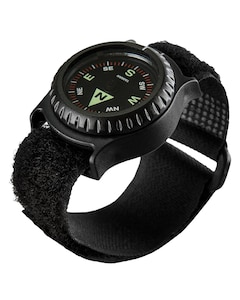
Button/keyring compass
These are the smallest models designed mainly as emergency equipment or part of an EDC kit. They allow you to quickly determine basic points of the compass, but due to their small size and limited accuracy, they will not replace a full-sized compass during map work.
What to consider when buying a compass?
A good compass should have:
- a clear 0–360° scale,
- a steadily working needle,
- fluorescent markings,
- a durable casing,
- a rotating bezel to facilitate azimuth determination.
The compass in practice – key takeaways
The ability to use a compass remains one of the basic methods of field orientation. Even a simple model allows you to determine the points of the compass, set an azimuth, and maintain the correct direction of march without access to GPS or a phone. In practice, the most important thing is the correct setting of the red needle relative to north and the ability to work with a map while planning a route.
For basic tourism and trekking, a simple map compass is usually sufficient, while in survival, bushcraft, and more demanding field navigation, sturdier compasses equipped with additional scales and sights are better suited. Regardless of the type of equipment, key is the regular practice of field orientation and learning the practical determination of the direction of march.
At MILITARY, there are both beginner-friendly tourist compasses and more advanced models for survival, outdoor, and military applications. This makes it easier to choose equipment tailored to your needs and the type of outdoor activity.