Česká republika
  Deutschland
  Austria
  United Kingdom
  Suomi
Suomi  France
  Magyarország
  Italia
  Polska
  România
  Україна
  Europe
How to start a campfire in the wild?
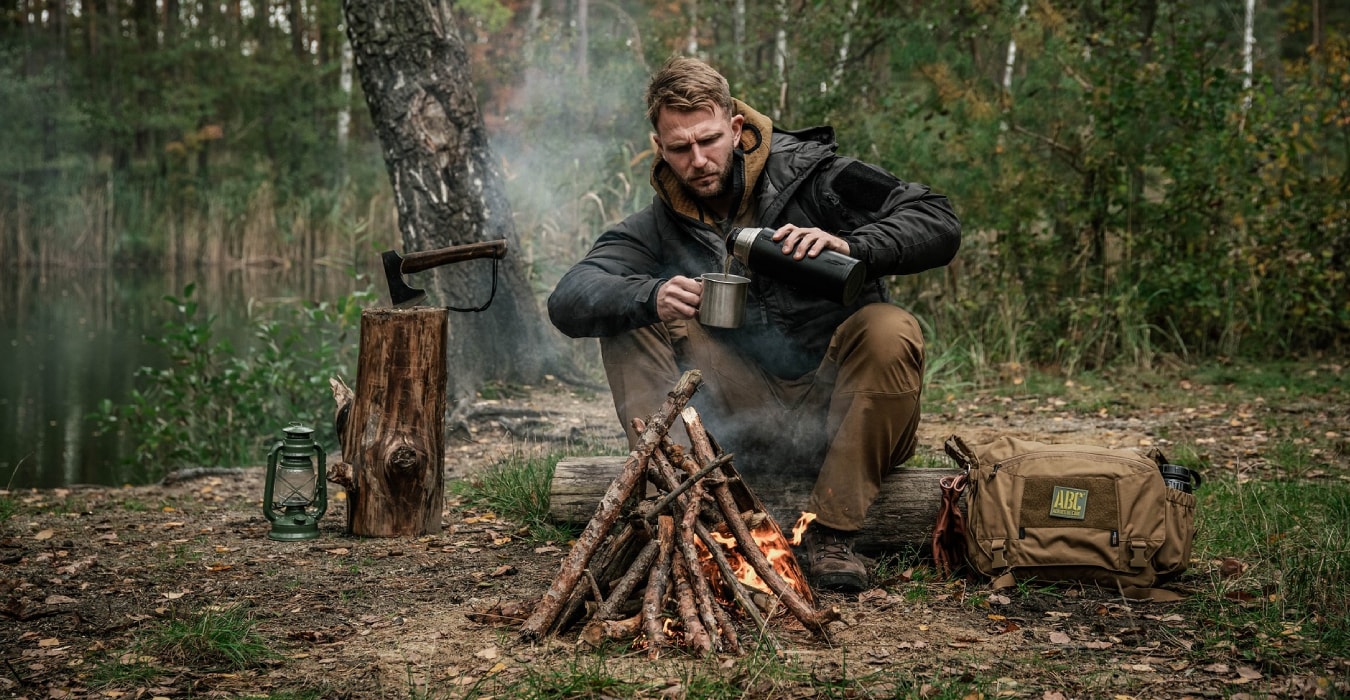
Lighting a campfire is a fundamental outdoor skill — useful for cooking, boiling water, keeping warm after dark, and drying wet kit. But knowing how to start a campfire safely and legally matters just as much as the technique itself. In the UK, where campfire rules vary significantly between England, Wales, and Scotland, getting it wrong can mean anything from a trespass issue to criminal liability if a fire spreads.
This guide covers where campfires are legally permitted in the UK, how to prepare a fire site, which wood and materials to use, how to light a fire without matches, and how to deal with rain, wind, and winter conditions. We also cover the most common mistakes and the kit worth carrying.
In short (TL;DR)
- Check UK campfire rules first — in England and Wales, you need explicit landowner permission; in Scotland, fires are permitted under responsible access rights but with clear restrictions.
- Prepare the site properly — flat, exposed ground away from dry grass, dead leaves, and low-hanging branches; surround with stones where possible.
- Layer your materials — tinder first, then thin kindling twigs, then progressively thicker firewood; never rush to large logs.
- Choose dry hardwood — beech and oak burn long and produce good coals; birch ignites easily and its bark makes excellent tinder.
- Best construction for beginners — the teepee (cone) provides the best airflow and is the easiest to light.
- Without matches — a ferrocerium rod is the most reliable alternative; fire bow and solar methods require practice or the right conditions.
- Extinguish completely — pour water, stir the coals, and check by touch; a campfire is only out when the entire site is cold.
Campfire rules in the UK — where can you light a fire?
Before gathering wood or choosing a spot, you need to know whether a campfire is actually permitted where you are. UK campfire law is not uniform — the rules differ significantly depending on which part of the country you are in, who owns the land, and what the current fire risk conditions are.
England and Wales
In England and Wales, lighting a campfire on land you do not own requires explicit permission from the landowner. This applies regardless of how open or remote the land appears. Access land under the Countryside and Rights of Way Act 2000 gives walkers the right to roam on foot, but it does not grant the right to light fires. National Park Authorities — including those covering the Lake District, Peak District, Dartmoor, and Brecon Beacons — have powers under byelaw to restrict or prohibit open fires on access land, and many do. Dartmoor is the only National Park in England where limited wild camping is tolerated, but even there, fires are banned across most of the moor, particularly during summer and dry periods.
Forestry England land restricts campfires to designated fire sites only; fires are permanently banned across most of its estate. On managed campsites, rules vary by site — many allow contained fires in fire rings or baskets only. Always check before you arrive.
Scotland
Scotland has significantly more permissive rules. The Land Reform (Scotland) Act 2003 grants responsible access rights across most unenclosed land, and the Scottish Outdoor Access Code includes campfires within those rights — provided they are lit responsibly. Even in Scotland, fires are prohibited in forests and woodland, on farmland and cultivated ground, on peaty ground (which can smoulder underground long after a fire appears out), near historic structures and archaeological sites, and in Sites of Special Scientific Interest. The practical guidance from most Scottish outdoor organisations is to use a fire pan or firebowl where possible, keep any open fire small and contained, and always carry enough water to extinguish it completely.
Fire risk and seasonal bans
Even where campfires are normally permitted, temporary bans apply during periods of high fire risk — and the UK's wildfire risk is increasing. The UK Met Office publishes a Wildfire Risk Index updated daily. When the index is rated high or very high, open fires are banned even in locations where they are otherwise allowed. The 2022 summer saw over 1,000 wildfires across the UK, many started by campers. Check current conditions before every trip, and if in doubt, use a camp stove instead.
Before you leave: Check local byelaws, the landowner's position, and the current Met Office wildfire risk rating. On Forestry England land, National Trust land, and most Scottish estates, look for signage and contact the ranger service if you are unsure. Lighting a campfire without permission risks prosecution for trespass, and if a fire spreads, you may be liable for criminal damage.
How to choose and prepare a campfire site
The safest option is always a designated fire site — a stone ring or metal fire basket at a campsite or recreation area. These contain the fire, reduce spread risk, and make extinguishing straightforward. Check that the pit is clear of debris before use.
If no designated site is available and regulations permit, select flat, exposed ground well away from dry grass, dead leaves, heather, and low-hanging branches. Clear the ground of leaf litter and mulch before lighting. Surrounding the fire with stones increases containment and is good practice wherever possible.
Before lighting, check:
- whether open fires are legally permitted at this location
- whether the ground is dry and fire risk is elevated
- whether there is dry grass, leaves, roots, or peat nearby
- whether branches overhang the intended fire site
- which direction the wind is blowing and where sparks will travel
- whether you have water, sand, or soil close at hand for quick extinguishing
If the ground is very dry, the wind is strong, or there is no reliable means of extinguishing a runaway fire, skip the campfire and use a stove instead. No meal or experience is worth the risk of an uncontrolled fire in the British countryside.
Materials for lighting a campfire — tinder, kindling, and firewood
A successful campfire starts with material preparation, not with the ignition source. The most common reason fires fail to get going is adding material in the wrong order — or transitioning to large logs before a stable base of burning kindling has been established.
Tinder is the material that catches the first spark or flame. It must be completely dry, fine, and airy. Natural options include birch bark, dry grass, bracken, and fine wood shavings. Ready-made campfire fire starters — wax-based blocks, petroleum jelly-soaked cotton, or compressed wood wool — are more reliable in damp British conditions and are well worth carrying.
Kindling is the next layer — thin, dry sticks the diameter of a pencil or a match. Arrange them loosely over the tinder to allow airflow. Good airflow is essential: stack too tightly and you starve the fire of oxygen before it can establish. Only add larger sticks once the kindling is burning steadily.
Firewood is the final layer — split logs and larger branches that sustain the fire once a good bed of coals has formed. The best choices for the UK are dry hardwoods: beech and oak burn long and hot, producing excellent coals for cooking; birch ignites easily and its bark is one of the best natural tinder materials available in British woodland. Softwoods such as pine and spruce burn faster, produce more sparks, and leave less useful coal — fine for getting a fire going but less useful for sustained heat.
How to test if wood is dry enough: a dry twig snaps with a clean crack, feels noticeably lighter than it looks, and makes a hard sound when tapped against another piece. Wet or green wood bends rather than breaks, feels heavier, has darker cut surfaces, and produces far more smoke than heat when burned.
How to start a campfire step by step
Once the site is prepared and your tinder, kindling, and firewood are within reach, you can begin. Whatever construction you choose, the principle is the same: build from the smallest material outwards and upwards, and never rush to large logs.
- Set up the tinder — place your tinder in the centre of the fire site. Birch bark, dry grass, a fire starter block, or a prepared tinder bundle all work well.
- Add kindling — arrange pencil-thin dry sticks above and around the tinder in your chosen construction. Leave gaps for airflow.
- Light the tinder — use a match, lighter, or ferrocerium rod and ignite the tinder from the windward side, or from several sides if possible.
- Feed the fire gradually — once the kindling is burning steadily, add progressively thicker sticks, working up in size over several minutes.
- Add firewood once coals form — only place large logs on the fire after a stable bed of glowing coals has developed beneath the flames.
Teepee (cone) fire
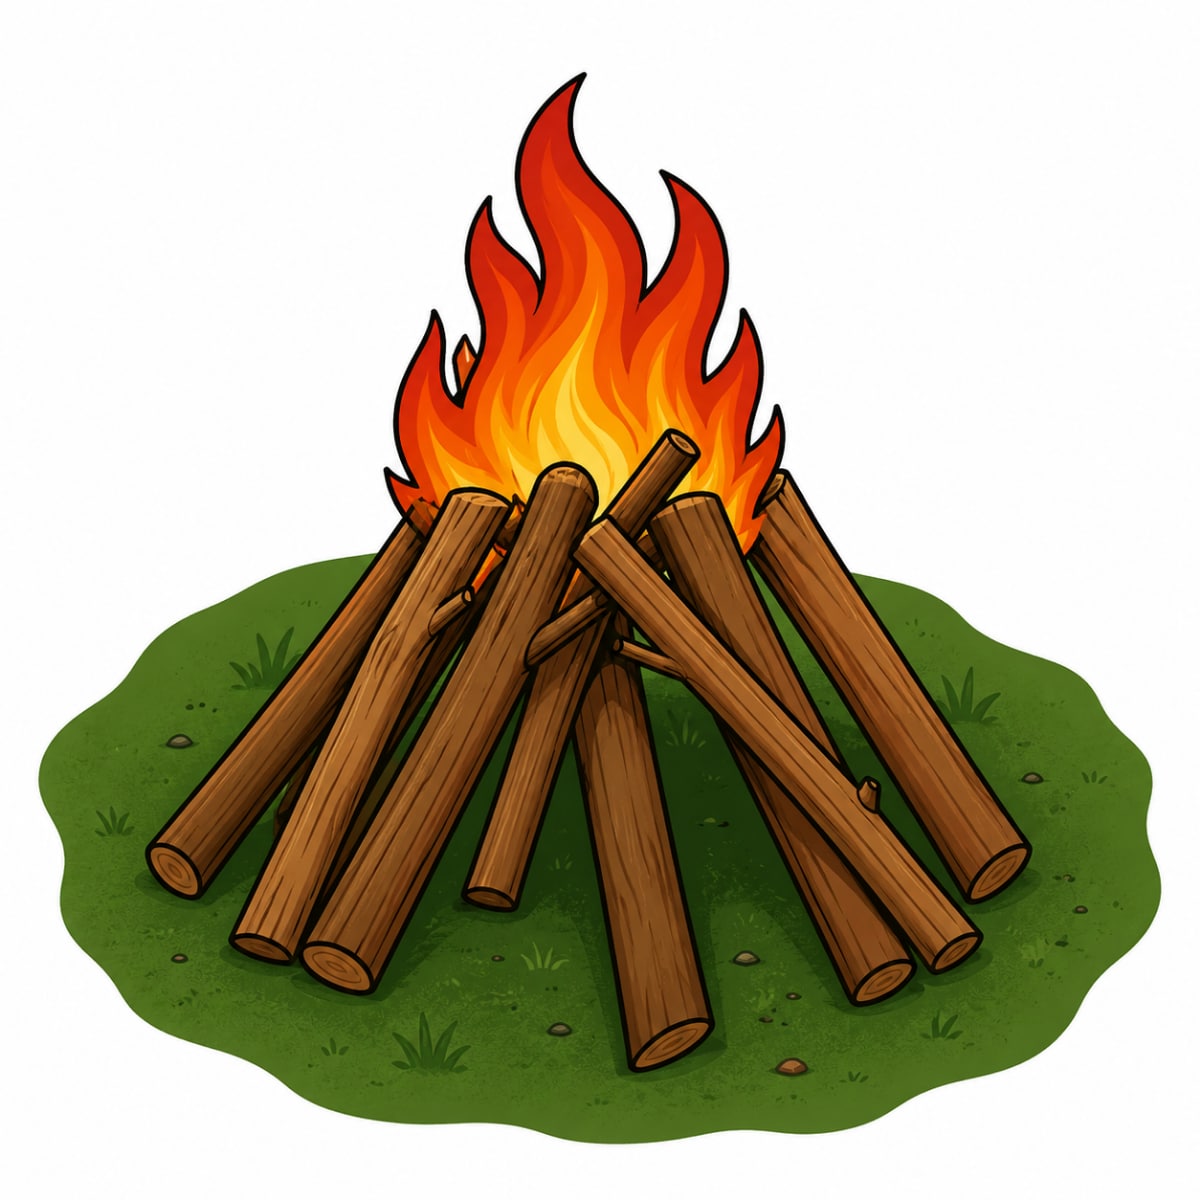
The most popular construction for camping and bushcraft, and the easiest for beginners. Tinder sits in the centre; thin kindling is arranged around it in a cone or teepee shape, leaning inward to a point. This structure creates excellent upward airflow, concentrates heat on the tinder, and catches quickly. It is the best starting point for anyone learning how to make a campfire.
Log cabin (well) fire
Wood is stacked in alternating layers at right angles, similar to a log cabin, with tinder and kindling placed in the centre. The structure burns evenly and maintains a stable flame for longer than a teepee, making it well suited to cooking over the fire rather than simply building and watching it.
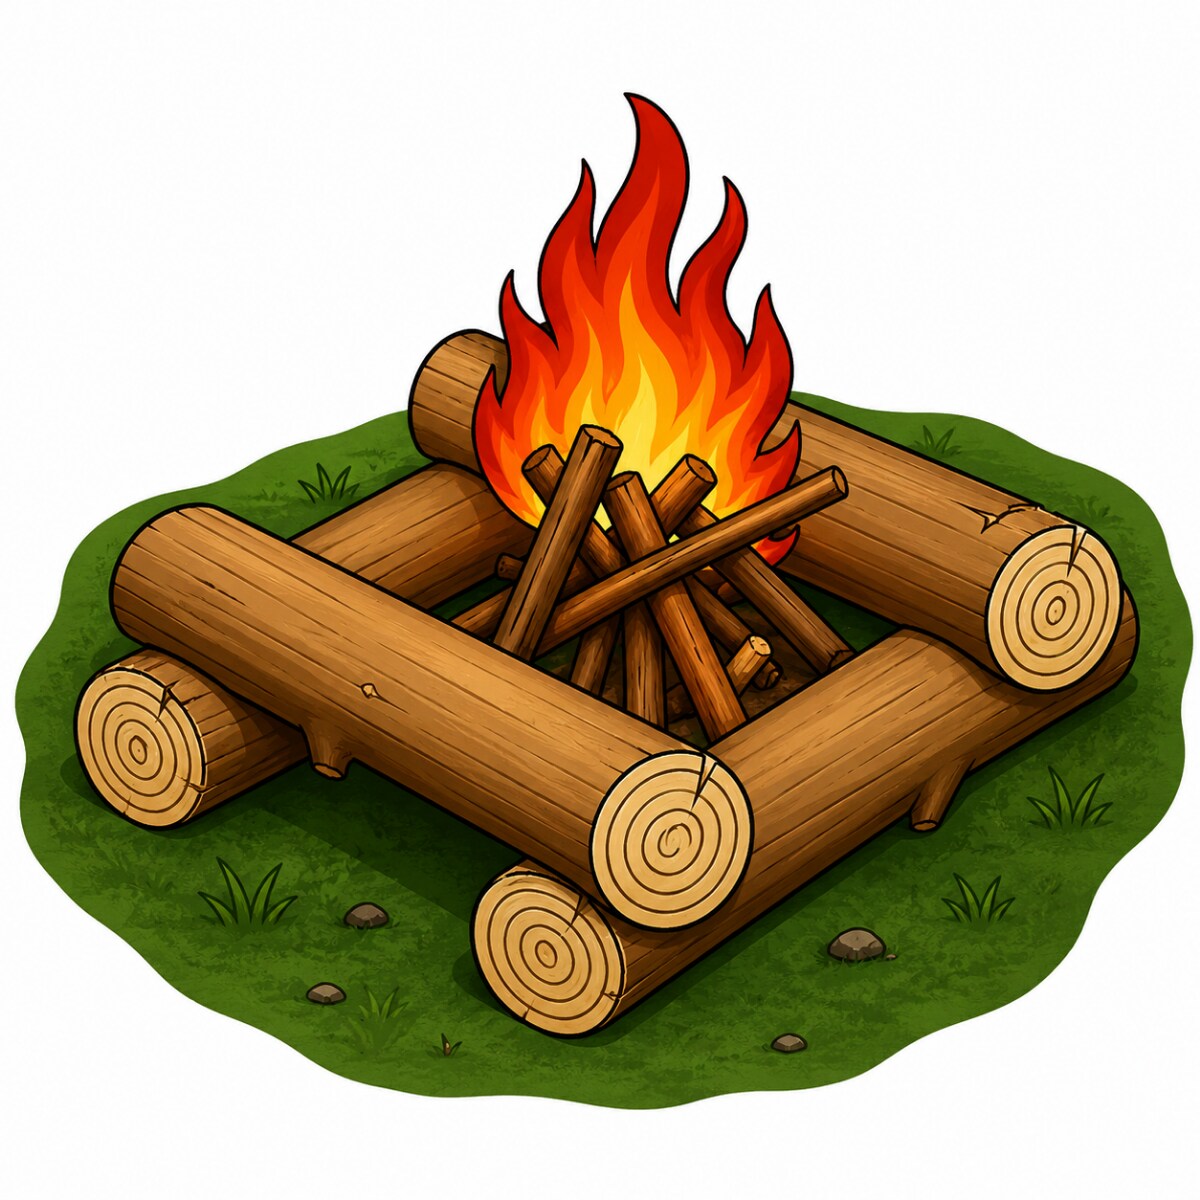
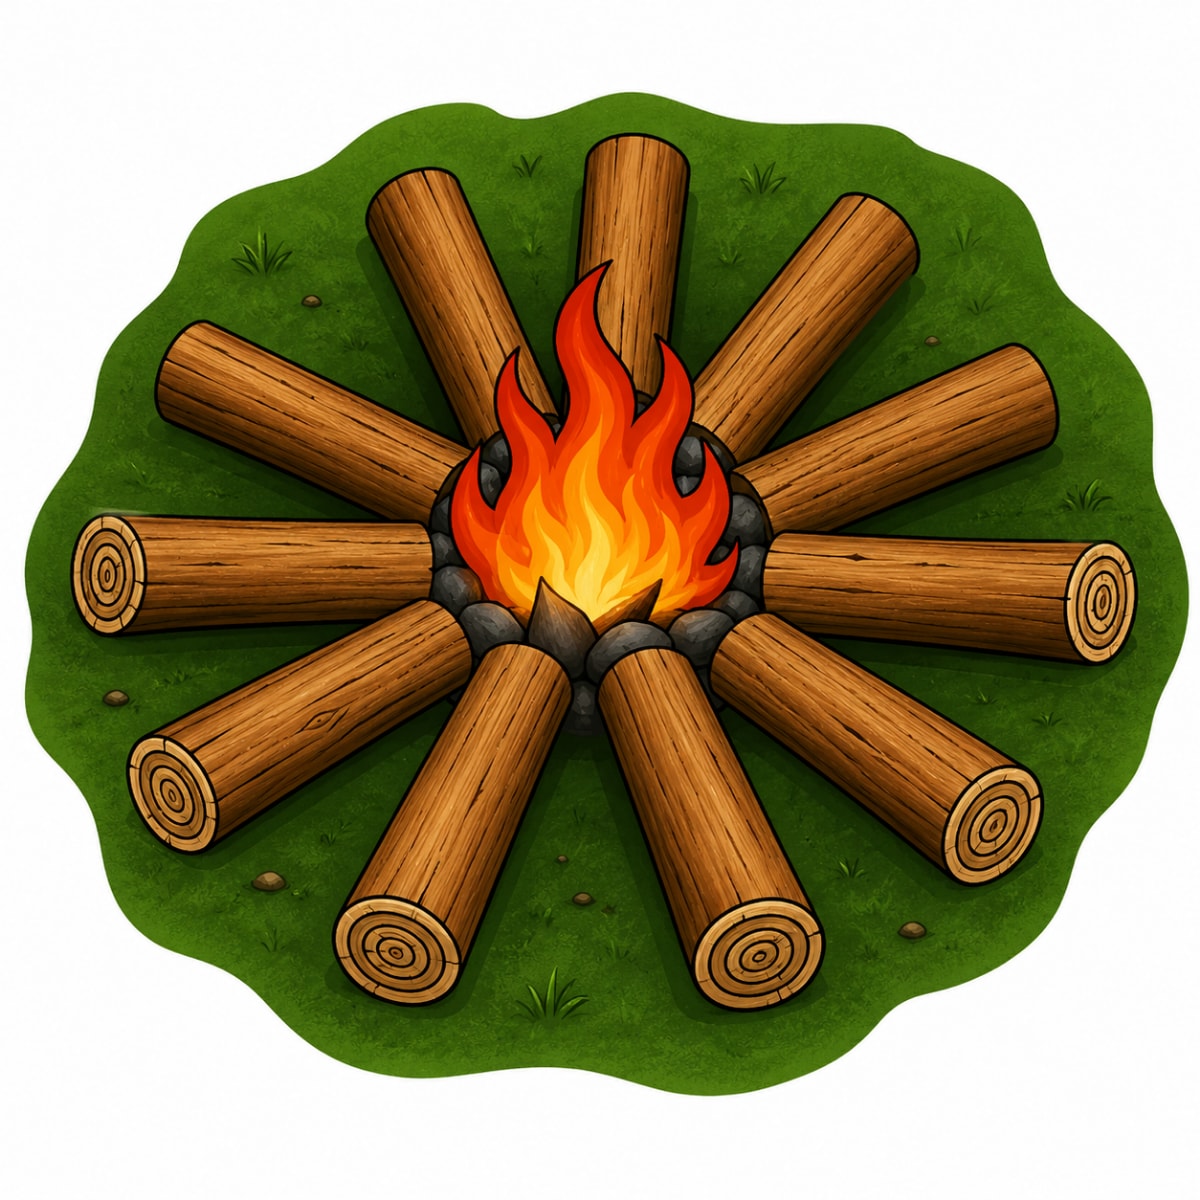
Star fire
Several longer logs are arranged radially around a central fire, like the spokes of a wheel. As the ends burn, you push each log inward to feed the flames. The star fire uses fuel economically and is well suited to longer camps where wood needs to last, but requires more active management than the other two constructions.
Practical tip: If you are new to campfires, start with the teepee. It provides the best airflow, concentrates heat on the tinder, and is the most forgiving if conditions are less than perfect. Most failures come from adding too much wood too quickly — patience in the early stages makes the difference.
How to start a campfire without matches — ferrocerium rod, fire bow, solar ignition
Running out of matches or finding a lighter has failed in wet weather is a realistic field scenario. Knowing at least one alternative ignition method is a worthwhile skill for anyone spending time outdoors.
Ferrocerium rod — the most practical field method
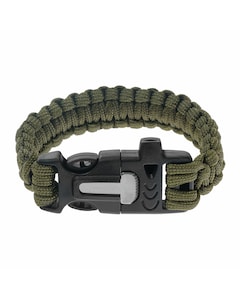
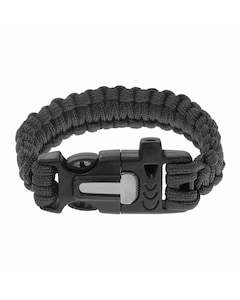
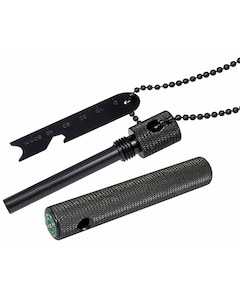
A ferrocerium rod (often called a firesteel or ferro rod) is one of the most useful pieces of kit for camping, bushcraft, and survival. It works in wet conditions, requires no fuel, functions at any temperature, and a good rod will produce thousands of strikes over its lifetime. Scrape the spine of a knife or a dedicated scraper firmly and quickly down the rod to produce a shower of sparks reaching several thousand degrees Celsius. Direct these onto a prepared tinder bundle — birch bark, dry grass, petroleum jelly-soaked cotton, or a proprietary fire starter — and blow gently once the tinder begins to smoulder. A ferrocerium rod is significantly more reliable in UK conditions than matches and is worth carrying even when you have a lighter.

Fire bow — the traditional friction method
The bow drill is one of the oldest fire-starting techniques known. A cord strung on a bow is looped around a wooden spindle; rapid back-and-forth motion creates friction between the spindle and a dry wooden fireboard, generating hot dust that can form a glowing coal. That coal is then transferred to a tinder bundle and blown into flame. In practice, the bow drill requires the right combination of dry wood species, well-prepared equipment, and considerable practice. For most people, it is significantly harder than using a ferrocerium rod and is better understood as a traditional skill than a first-choice field method.
Solar ignition — magnifying glass and Fresnel lens
On a sunny day, a magnifying glass or Fresnel lens can focus sunlight into a point hot enough to ignite tinder within seconds. The method works well with fine, dark-coloured tinder in direct, strong sunlight — which limits its usefulness in the frequently overcast British climate. It is a useful technique to know but not one to rely on as a primary method in the UK.
Which method is most reliable in the UK? The ferrocerium rod is the clear practical choice — it works in rain, cold, and wind, requires no sunshine, and does not depend on fuel. A bow drill and solar ignition are valuable traditional skills but require significantly better conditions or more practice to use effectively in real field situations.
How to light a campfire in difficult conditions — rain, wind, and winter
When conditions are against you, the fire source matters far less than your preparation. Dry tinder, a sheltered position, and patient layering of materials are what make the difference in bad weather.
After rain
Look for dry wood under the dense canopy of conifers, under fallen logs, and on the dead standing branches of deciduous trees — these stay drier than wood on the ground. Split larger pieces of wet wood: the interior dries faster and the cut surfaces catch more quickly. For tinder, birch bark is among the most reliably fire-resistant materials in wet British woodland; petroleum jelly cloths and proprietary wax fire starters are equally effective and should be a standard part of your pack.
In strong wind
Choose a spot sheltered from the prevailing wind — behind a boulder, a bank, or a natural hollow. Build the fire low and stable, and protect tinder from being scattered before it catches. Keep an eye on where sparks are travelling; if the wind is carrying them beyond the cleared fire zone, it is safer to abandon the campfire and use a stove.
In snow and frost
Never light a fire directly on snow — the heat melts the snow unevenly and the fire sinks, losing airflow and heat. First lay a platform of thick sticks, bark, or flat pieces of split wood to insulate the fire from the ground. In winter, have a larger supply of thin kindling ready before you start — cold slows combustion and you will need more material to bring the fire to a stable temperature than you would in summer.
The most common campfire mistakes
- Using wet or green wood — damp wood ignites poorly, produces heavy smoke, and makes maintaining a stable flame very difficult. Always test wood before collecting it.
- Adding large logs too quickly — a small flame needs time and progressively larger fuel. Placing thick logs on a young fire smothers it before coals can form.
- Too little tinder — many beginners focus on collecting firewood and underestimate how much tinder and thin kindling is needed to get a fire established.
- Stacking material too tightly — fire needs oxygen. Over-packing kindling and firewood starves the flame before it can grow.
- Lighting in an unsafe location — dry moorland grass, heather, and overhanging branches are all serious hazards in UK conditions.
- Using flammable liquids — petrol, lighter fluid, and similar accelerants cause uncontrolled flare-ups and are a common cause of burns. Never use them.
- No wood in reserve — searching for more fuel when the fire is beginning to die usually ends with it going out. Collect and prepare a full supply before you light.
How to extinguish a campfire safely
Extinguishing the fire completely is as important as lighting it correctly. Smouldering coals left unattended can reignite hours later, particularly in dry or peaty ground where fire can travel underground. Before leaving any campsite, make absolutely certain the fire is out.
The most effective method is to pour water slowly and steadily over the entire fire site while stirring the coals and ash with a stick or a folding shovel. This reaches glowing material hidden below the surface. Dousing only the visible flames is not enough. Repeat until no steam rises and no heat can be felt when you hold your hand a few centimetres above the ash.
If water is not available, sand or dry soil can be used to smother the fire — but this is less reliable than water, as coals cut off from oxygen can retain dangerous heat for a long time. On peaty ground, take particular care: peat can hold heat and smoulder for days even when the surface appears cold. In Scotland, peat fires have been responsible for significant moorland damage. If you are on peat, use a fire pan and remove it completely when you leave.
Essential kit for lighting a campfire
Even experienced bushcrafters carry at least two independent ignition sources. Conditions in the UK can change quickly, and a single wet box of matches or an empty lighter should not stand between you and a fire when you need one. A practical kit for campfire lighting includes:
- Ferrocerium rod — reliable in rain, cold, and wind; a core piece of kit for any outdoor trip
- Storm matches — wind and moisture resistant; good as a backup ignition source
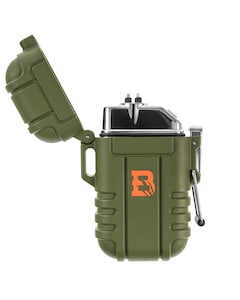
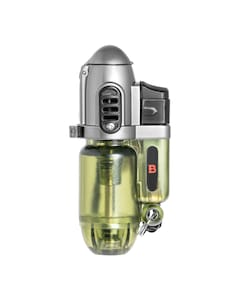
- Gas or petrol lighter — fast and convenient for everyday use in reasonable conditions
- Ready-made fire starters — wax blocks, petroleum jelly cotton, or compressed wood wool are especially valuable in wet or winter conditions
- Folding saw or small axe — for processing and splitting firewood, and for reaching the dry interior of wet logs